I get a ton of questions in regards to cost and ease of build. I will continue updating until all questions are answered and you feel comfortable about building one for yourself.
First...Supplies.
Obviously plywood.....I used a cheap 1/4" plywood, (2@4'x8') from my local Boyce for my mock-up.
Glue......I use both Elmers carpenters wood glue & Gorilla polyurethane glue.
Clamps...…
I easily have 50 Spring clamps, these are the best.
Bar Clamps.....Honestly I haven't found a set of these that are made that awesome just yet, most work great but there is a handful in every batch that twists and, well, plan on replacing them are projects progress...…Although they suck, they are awesome for adjusting with one hand while holding work with the other hand. You should have the clamp opened and ready to use before glueing but there are times when you need an extra clamp or two and these come in handy......For any given project I have 20.
And finally epoxy.....I have tried them all, I like them all. The best for the price for this build is John Greers Aeromarine Products...… https://www.aeromarineproducts.com/product/epoxy-resin/
get the 300/21 stuff, 1.5 gallon kits w/pumps, will make life easier.
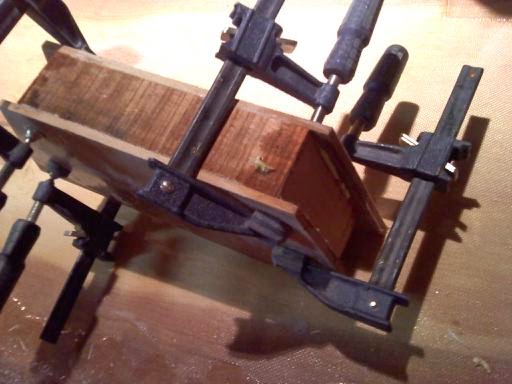
Start off with 2 sheets of plywood stacked and clamped. Then make a cut down the center, lengthwise so there is 4 sheets of 24" x 8'. Then on one end measure 20" down, mark and cut out 2 triangles as shown below. Line up the ends and install a simply butt-joint. Butt Joint. (remember that this is scrap so a butt-joint will work in lieu of the typical scarf)

Use a straight 4x4 to join the front angles together with screws.
2 Clamps on the back and rope will help pull the sides to your designed shape. Attach 2 braces at midship, from chine to chine and from gunwale to gunwale (gunnels). From chine to chine at midship should measure 54".
Attach more bracing throughout to ensure the desired shape...….
(I did this first on the floor, then raised it up to leveled sawhorses.)
.jpg)
.jpg)
admire/adjust
(you'll notice the open transom held together by straps and clamps, easier to adjust)
.jpg)
more adjusting

Once you achieve the look you want, build frames to support the panels, using clamps or screws to secure to panels. Space them about 16" to 18" apart. I use a sliding Sliding T-Bevel to
make certain each side has a matching angle.
Then, you want to build a 'strongback' inside the boat to tie everything together and keep it square.
I used 2 straight 2x8x12', and some 2x4's to attach everything.
Google Strongback for tips and tricks.
Flip the boat onto the Strongback and remove side panels.
Using Western Red Cedar and Alaskan Yellow Cedar special order from my
local lumber shop, Boyce.
Or order online at http://www.noahsmarine.com

stripping cedar

Two options,
1. glued the first 3 strips together in a perfectly straight line, then bent it around the forms
or
2. cut a 3/8" x 3" piece of cedar out to bend around forms


cove and bead each strip, bit available "here"


glueing together


the photo above shows all 3/8" strips and the 1/4" strips near the top (bottom) that will hold the design (inlays)


.jpg)
plywood floor, scarfed and installed


fillet chine using


attaching inlays


Black Mountain Marking took my ideas and cut them out, you can find them 'here'


installing rod holders


painting the inside of each seat box

building oarlock blocks


installing hull id number


installing 12oz cloth

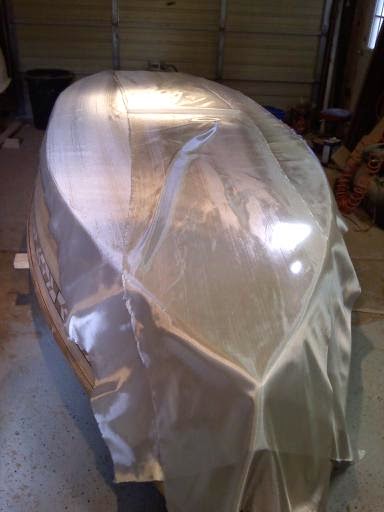

installing 6oz cloth


Grizzly grip coating found 'here"


